


Hi folks, it’s been a while since to shared my AWS knowledge with you. Here I will walk you through some interesting topics about AWS amplify and Next.js. If you have ever tried to deploy the Next application in AWS Amplify? Or if you ever faced some difficulties with deploying your Next application with the AWS Amplify platform? This is the one that you must read before the second try. So, let’s begin the tutorial. How to host the Next.js app on AWS amplify.
Before we start, we should have some prerequisites to complete. Those are,
- You should have installed Node.js on your local machine. (It will need to create and run your Next.js application)
- You should have a version control system like GitHub/ GitLab or Bitbucket account to host your Next.js application.
- And also you need some AWS account credentials with amplify access.
So, if you completed all those steps, let’s begin the tutorial.
Step 01 — Create a repository
First, create a repository in your version control system. Here I used GitHub to create my repo. Then clone it into your local computer with the below command.
git clone [repo link]
Step 02- Create the Next.js application
After cloning your repo, go to that location and create your Next.js application there with a name for the application. My application is the next-blog.
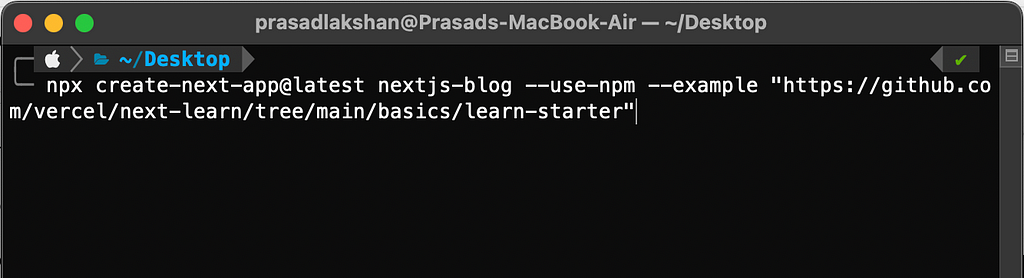
After successfully creating your next.js application you can push it into your repository with the below commands respectively.
git init
git add .
git commit -m "initial commit"
git push -u origin master
If you want to know furthermore about git, you can follow the following link I have provided. So, now you have successfully added your latest changes to your GitHub repository. Then we will work with amplify configurations.
Step 03 — Setup Amplify App
To do that task you need to log into the AWS management console with your account credentials. For this, the best practice and secure way is to create a separate IAM user role with only AWS amplify access and then log in with that user, but you can also log in with your root user account as well.
After login, you should go to the AWS Amplify service. And then go to the amplify service because we want to host our application instead of building it.
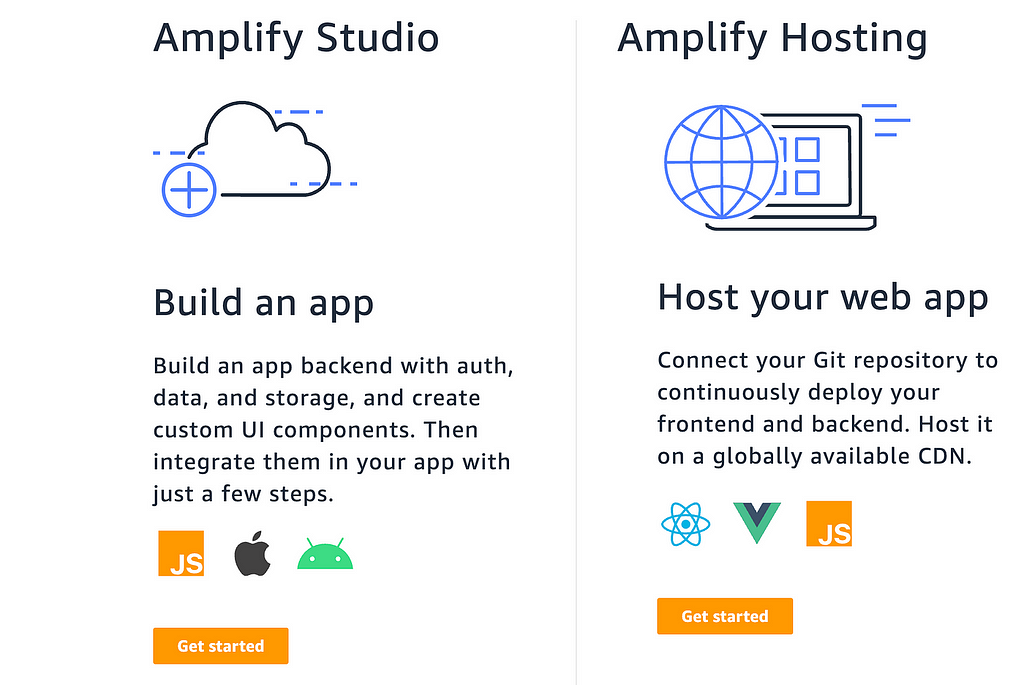
Then click on Get Started on Host your web app . And when starting with Amplify it will ask for your version control system. Here I will choose GitHub and you select your own.
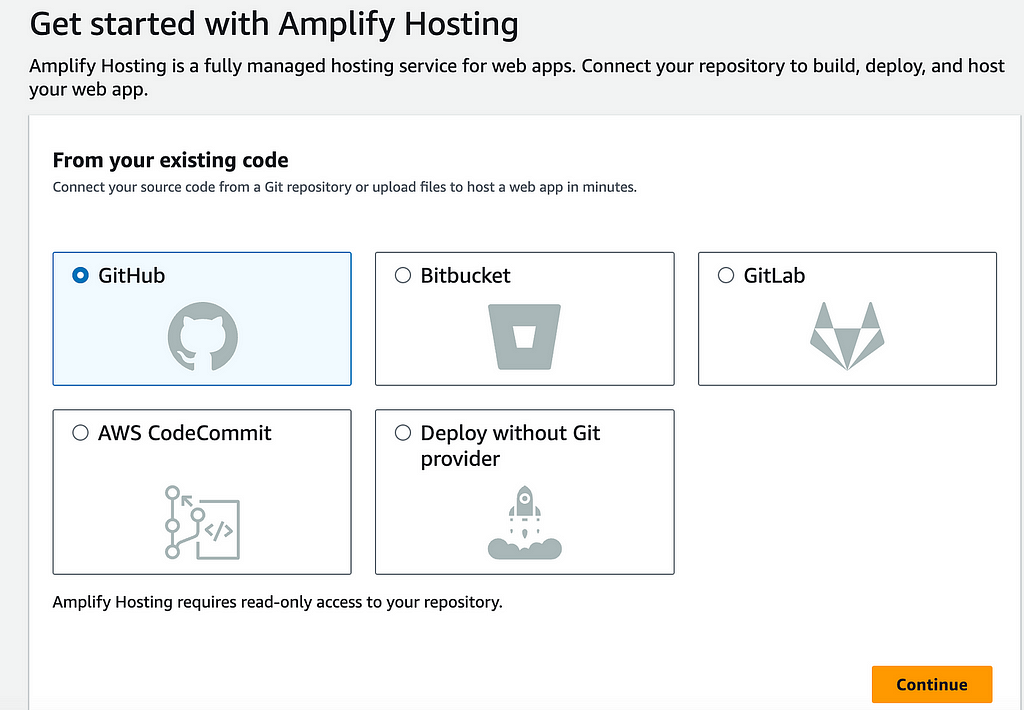
I have selected GitHub as my version control system. And it will ask permission to your GitHub account and verify it.
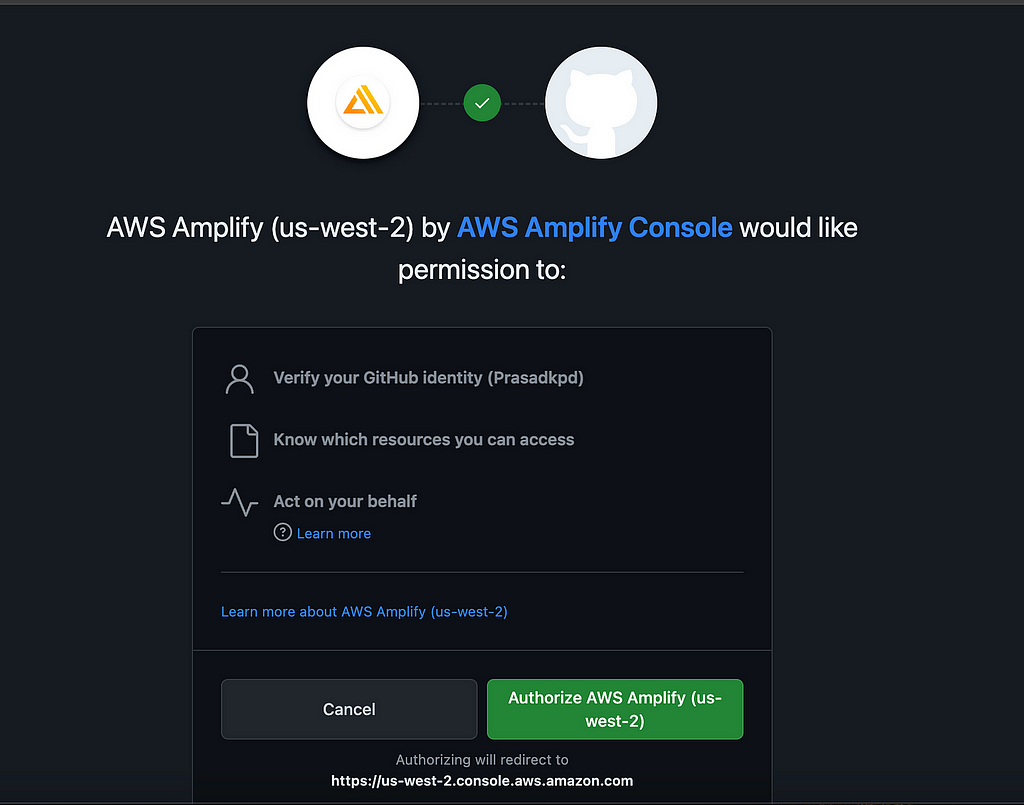
Make sure to select Select Repositories and select the repository the next.js application contains. Then you can give the authorization for this repository.
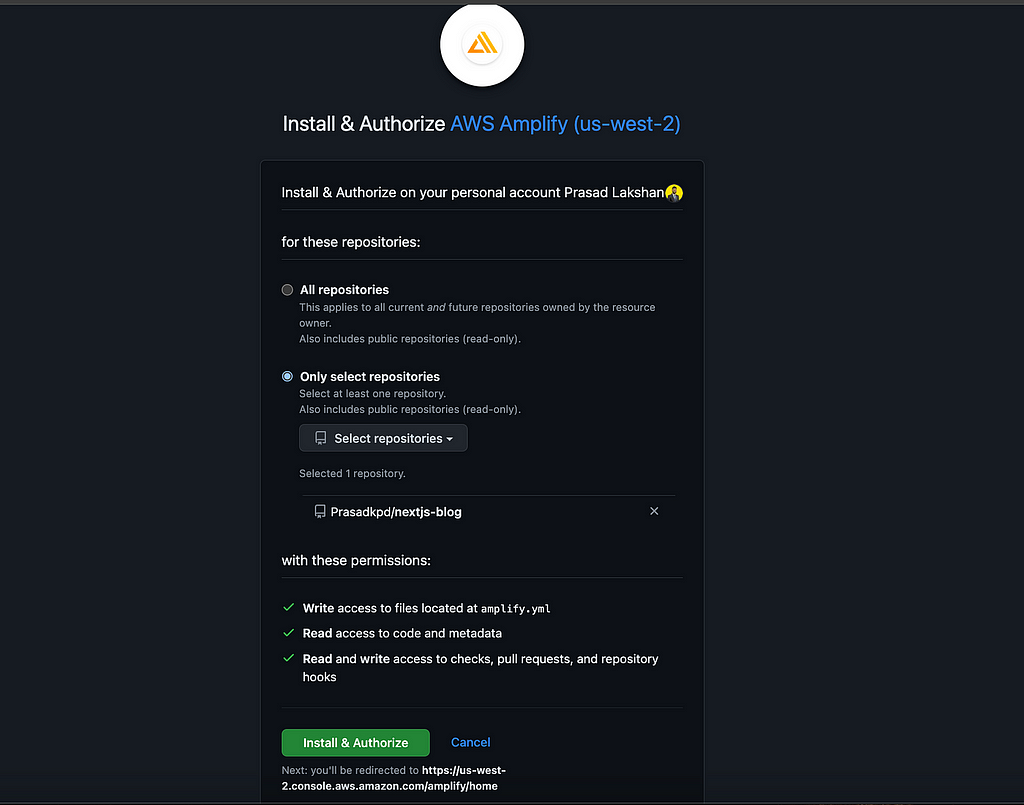
After successfully authorizing your application you can select the branch that includes the application that you need to deploy.

Then, provide a name for your application and go to the next step.

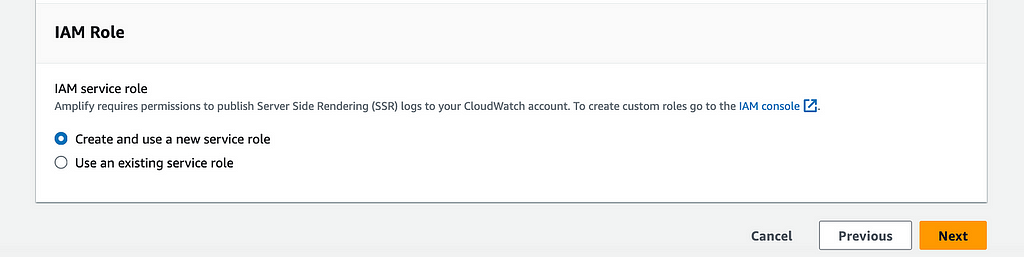
If you want to enable logs for your hosted application you can add selections with a new service role or your existing one using this interface.
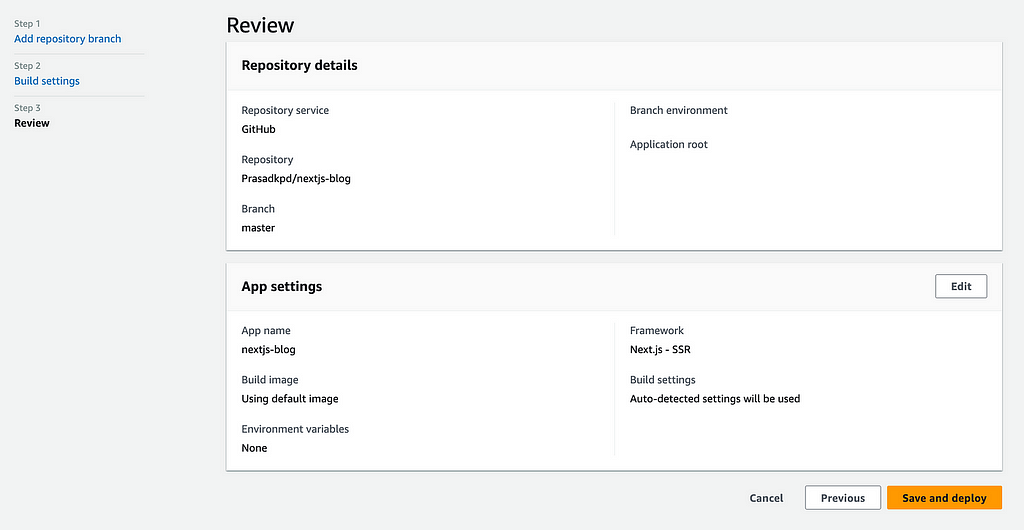
After all these configuration setups you can save and deploy your application. Before that review your application using the below view.
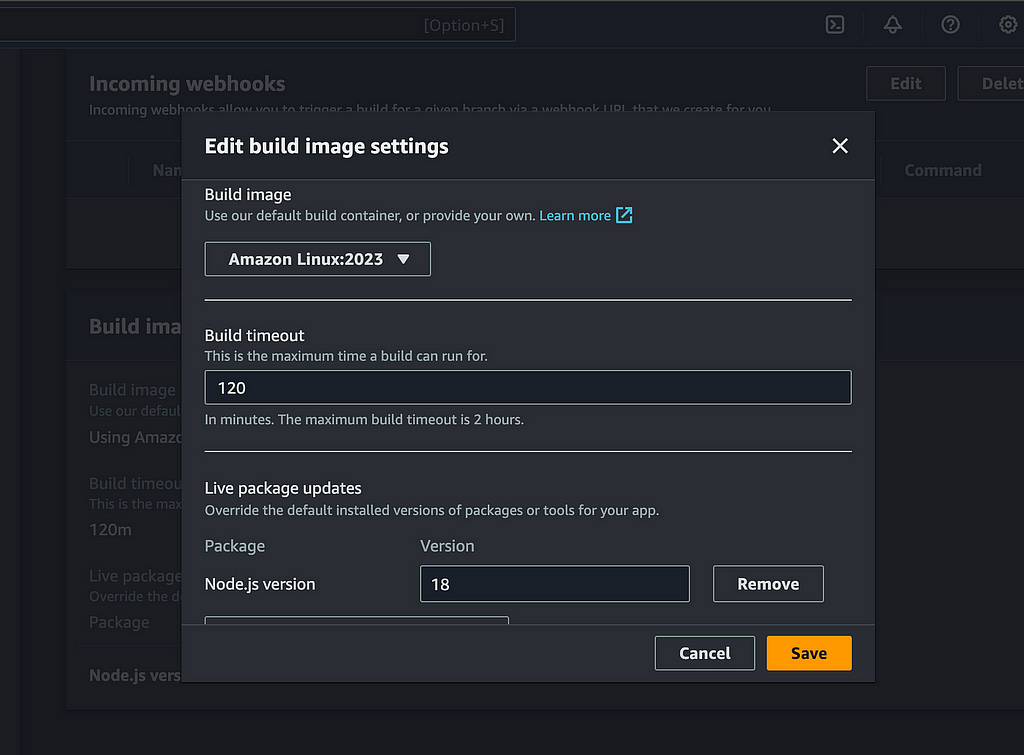
After this step, if you have any environment variables that need to be set up, you can click on edit in app settings and set up the environment variables with key and values. Also, make sure to set the node js to 18 under the Live packages update
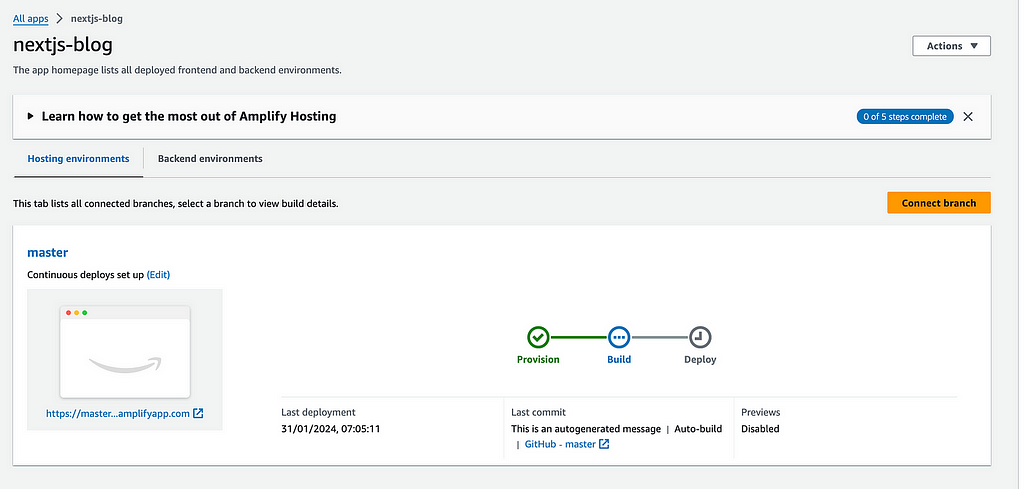
Then you can see the build and deploy jobs of your Next.js application and if your build is going to fail, there is another configuration that you need to set. Otherwise, your app is successfully deployed.
If it failed, go to the build image settings in the sidebar and click edit. And then, select the build image to Amazon Linux:2023 and make sure to change the build timeout to 120. and click on the save by following below view.
Then, you can redeploy the application by clicking on the actions dropdown.
Conclusion
Deploying your Next.js app with AWS Amplify can be a straightforward and efficient process. With its ease of use and powerful features, AWS Amplify can help streamline your deployment process and provide you with a secure and scalable hosting environment. By following the steps outlined in this blog post, you can get your Next.js app up and running in no time, and start reaping the benefits of cloud-based hosting. Whether you are a seasoned developer or just starting, AWS Amplify is a valuable tool to have in your toolkit.
How to host Next.js App in AWS-Amplify was originally published in Enlear Academy on Medium, where people are continuing the conversation by highlighting and responding to this story.


2 Comments
You actually make it appear really easy along with your presentation but I to
find this matter to be really one thing which I believe I might by
no means understand. It sort of feels too complex and extremely huge for me.
I’m having a look ahead for your next submit, I’ll attempt
to get the grasp of it!
You actually make it appear so easy with your presentation but I find this matter to be actually
something that I think I would never understand. It kind of feels
too complex and extremely wide for me. I am
having a look forward on your next publish, I’ll attempt to get the grasp of it!