Hello genius, are you thinking of how to dockerize your react app and deploy it in AWS EC2? Have you experienced any blockers when dockerizing and deploying? Are your a beginner to AWS EC2 and docker? Let’s dive in this blog then. In this tutorial you will learn about some key concepts of AWS EC2 as well as docker and also resolve your all doubts. Let’s start. As the first step you should create a docker file inside your application.
- Create a Dockerfile:
- First create a new file named Dockerfile in the root directory of your React app.
- Open the Dockerfile in a text editor and add the following lines:
# Use an official Node.js runtime as the base image
FROM node:14-alpine

# Set the working directory in the container
WORKDIR /app

# Copy the package.json and package-lock.json files
COPY package*.json ./

# Install the app dependencies
RUN npm install

# Copy the app source code
COPY . .

# Build the React app for production
RUN npm run build

# Expose the port that your React app will run on
EXPOSE 3000

# Start the React app when the container starts
CMD [ "npm", "start" ]
and also add a .dockerignore file to ignore the coping of node modules in your react application.
/node_modules
2. Set up the Docker image:
- Open a terminal / command prompt in your local machine and navigate to the root directory of your React app where the Dockerfile is located.
- Use the following command to build the Docker image:
docker build -t your-image-name .

- Replace your-image-name with a name of your choice for the Docker image.
3. Push the Docker image to a container registry:
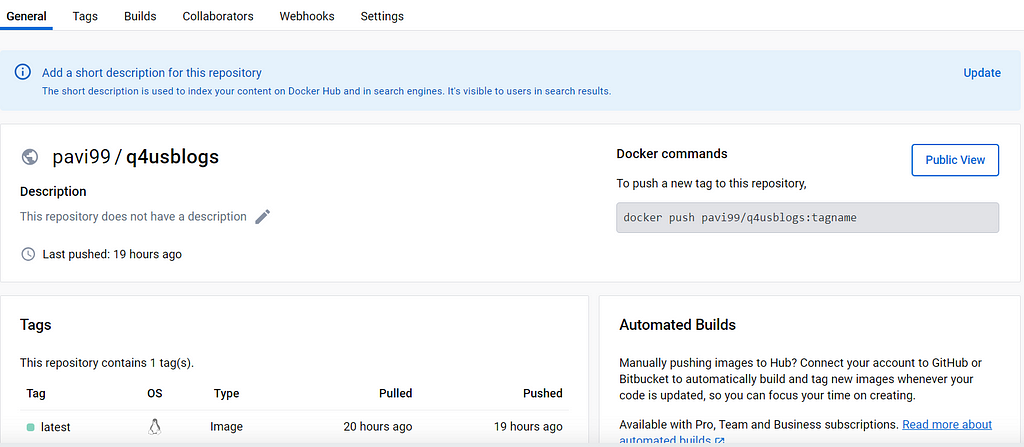
- Choose a container registry to store your Docker image. Popular options include Docker Hub, Amazon ECR, or Google Container Registry.In here I use docker hub to push my image.
docker push username/repositoryname:tag

- Follow the documentation of your chosen container registry to create a repository and push your Docker image to it.
4. Set up an EC2 instance:
- Log in to the AWS Management Console.
- Navigate to Amazon EC2.
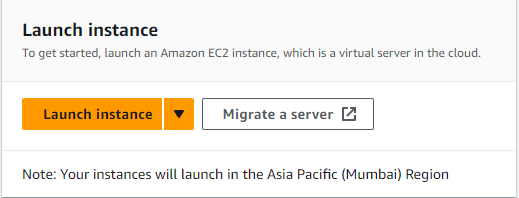
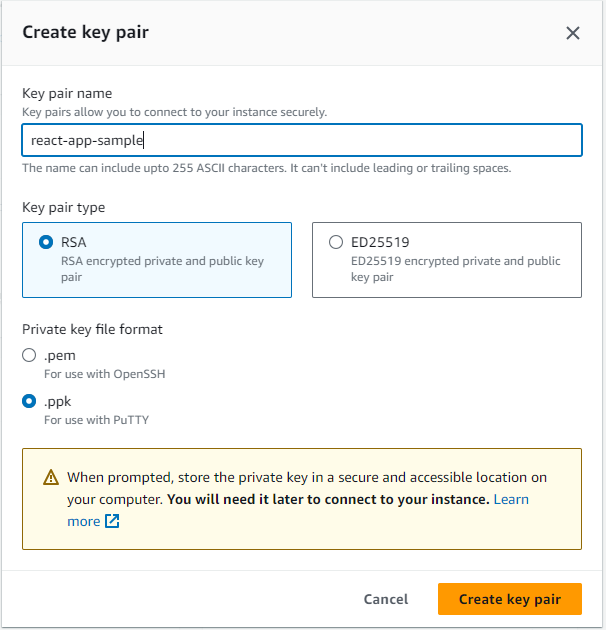
- Launch an EC2 instance, selecting the desired operating system and instance type.


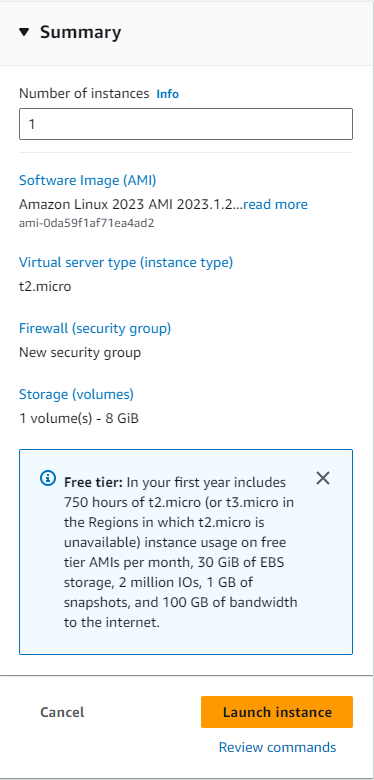

- Configure security groups to allow inbound traffic on port 3000 (or the port your React app is set to run on).
5. Connect to the EC2 instance:
- Using SSH you can connect to your EC2 instance from your local machine. And also you can use extensions like putty and filezilla. I used putty into connect my ec2 instance using windows.

6. Install Docker on the EC2 instance:
- Follow the instructions for your EC2 instance’s operating system to install Docker. There is some set of codes to success that. I will add those command as well for your knowledge.
sudo yum update -y
sudo yum search docker
sudo yum info docker
sudo yum install docker


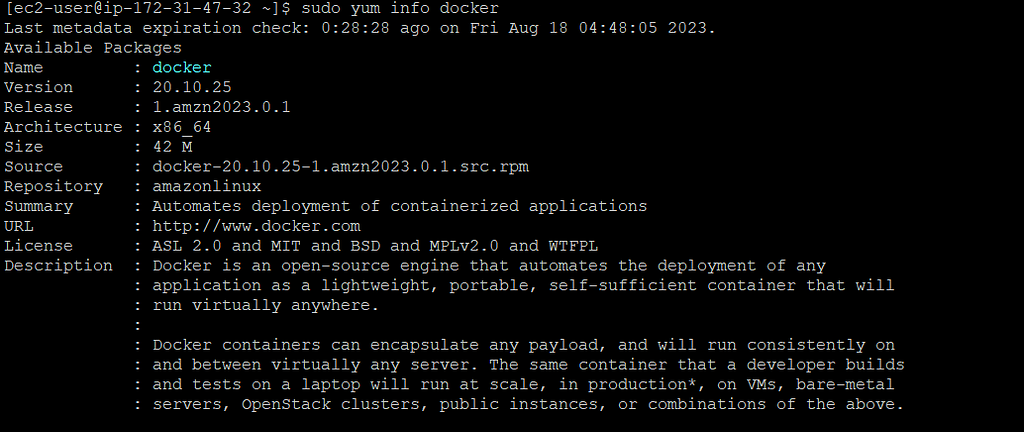

This is how we install docker in amazon linux instance. The commands can be change when you use another OS in your instance.
7. Pull the Docker image on the EC2 instance:
- Run the following command on the EC2 instance to pull the Docker image you pushed to the container registry:
docker pull your-image-name

- Replace your-image-name with the name of the Docker image you pushed.
8. Run the Docker container on the EC2 instance:
- Let’s start a Docker container using the pulled image using the following command:

sudo docker run -d -p 80:80 your-image-name
- Replace your-image-name with the name of the Docker image you pulled.
9. Access your deployed React app:


- Now to see your application you can use the public IP address or domain associated with your EC2 instance, along with port 3000 (or the port your React app is set to run on), to access your deployed React app through a web browser.
Well done dear folks! Now you have successfully deployed your dockerized react app using AWS EC2. Dockerizing your app provides containerization and portability, making it easier to deploy and manage in different environments. Adjust the steps as needed based on your specific project configuration and requirements.




1 Comment
It is in point of fact a great and useful piece of information. I’m happy
that you shared this useful information with us.
Please keep us informed like this. Thank you for sharing.